Device for generating light beams for optical experiments
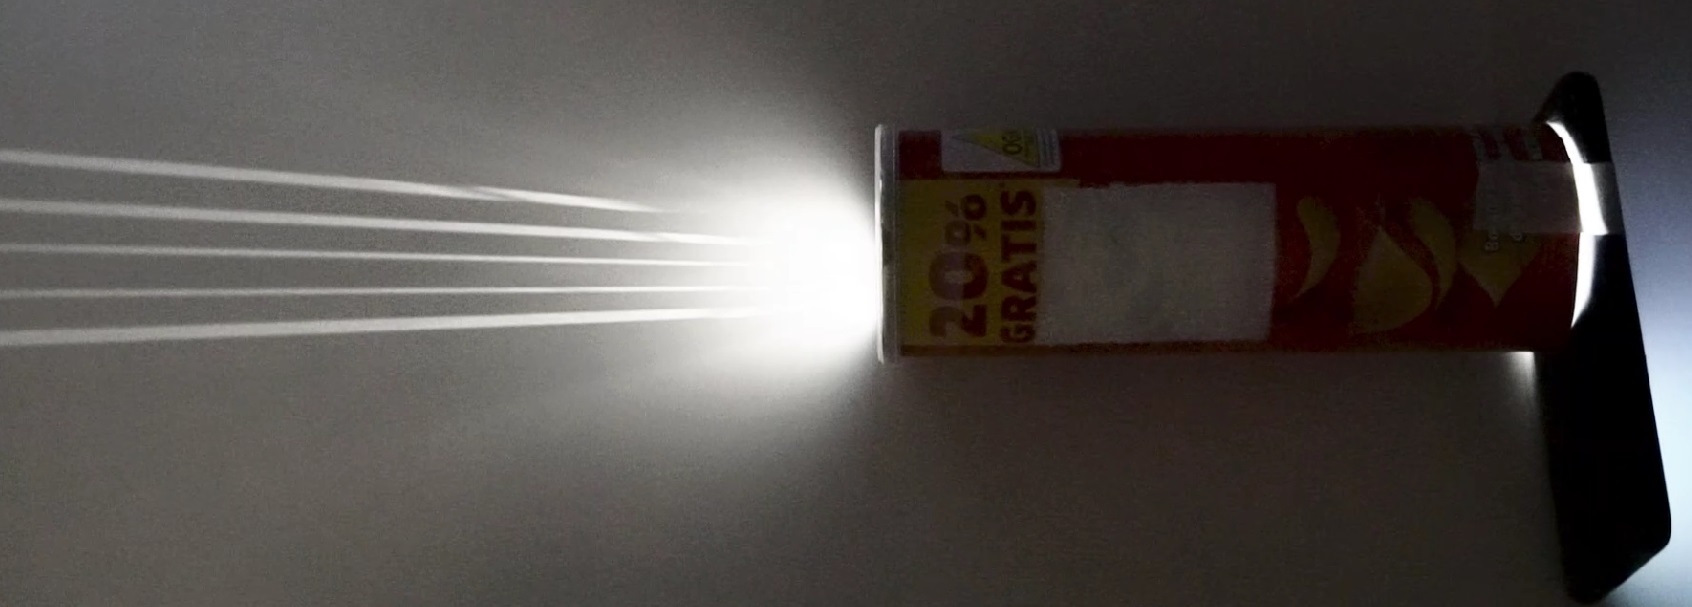
Rays on the table surface
Making light rays visible
Introduction to:
Straight-line propagation of light
Material:
Chip box
Black cardboard
Scissors
Pen / white colored pencil
Sharp knife (cutter)
Adhesive tape
Light-coloured tabletop / diffusely reflective, flat surface / large sheet of white paper
Instructions:
Cut off the metal bottom of the chip box.
Place the chip tin on the black cardboard and trace the floor plan with the pen. Cut out three such slices.
Take a slice and cut a slit to the center, cut three slits in the next slice and five slits in the third slice.
Take the clear plastic lid and cut out a square with the help of scissors.
Place a disc on the end of the pipe and secure it with the plastic lid.
Attach your mobile phone to the other end of the pipe with tape
Turn on the LED flashlight
Observation:
Straight traces of light can be seen on the tabletop.
Explication:
The mobile phone flashlight emits a cone-shaped beam of light. The slit in the aperture only allows a narrow beam of light to pass through. This falls slightly diagonally on the surface and creates a light trail, the “light ray”, through diffuse reflection.
Tips:
The light rays are good for experimenting. For example, they can be reflected by a mirror or collected or scattered by lenses.
Depending on the experiment, discs with one, two, three slits, etc. are suitable.